
Making a Neocities account
In this course, we’re going to be using the free, local, open-source based service Neocities as the basis of our examples and workflow for putting a website online.
You can use other services, including using a home server or even a distributed, but all our examples will be specifically showing the user interface and screenshots of Neocities. The important point, though, is that the underlying skills you’re learning are the same no matter how you put the website on the internet.
All that being said, let’s make a Neocities account! If you go to the Neocities website, you should see a screen that looks like the screenshot below:

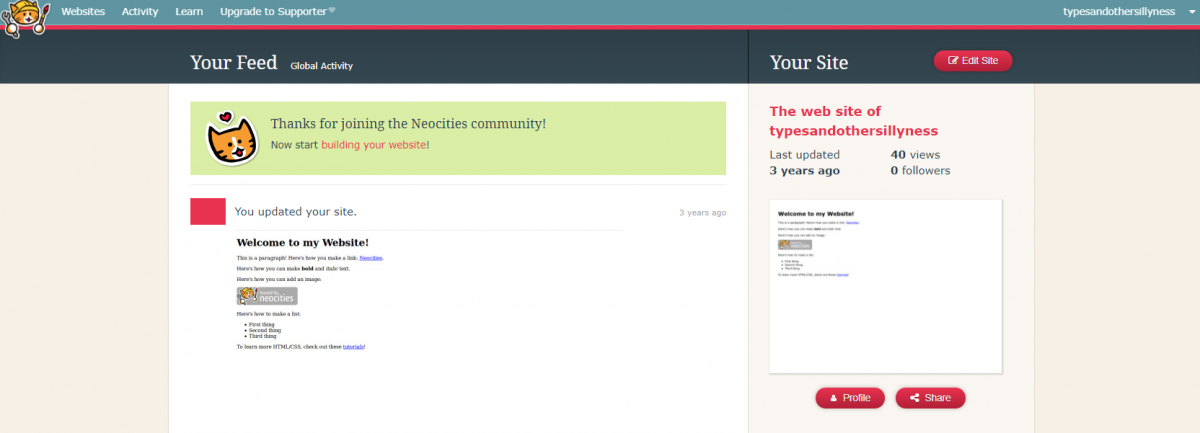
Go ahead and sign up for an account and, when you’re done, you should be able to see something that looks like this:
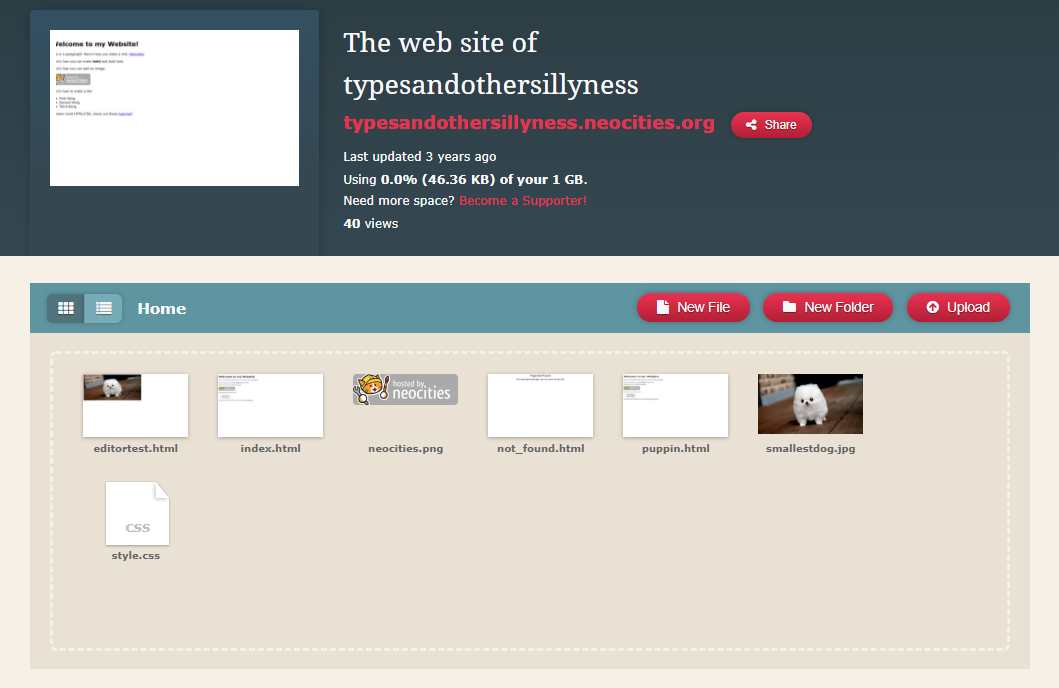
If you navigate to the Edit Site button and click it, you’ll be presented with the screen you’ll be spending a lot of time on, that shows your website in terms of the files that go into it and gives you the ability to add to or edit the website.
If you’ve gotten to this point, then you’re ready to go onto the next sections and learn more about what we’re going to be making!