
Drawing basic shapes
The first thing thing we’re going to do in P5 is draw some simple shapes on our canvas.
To get started, first go to https://p5js.org, the main P5 website, and then click on the word “Editor” on the left-hand side of the screen. You should be seeing something that looks like
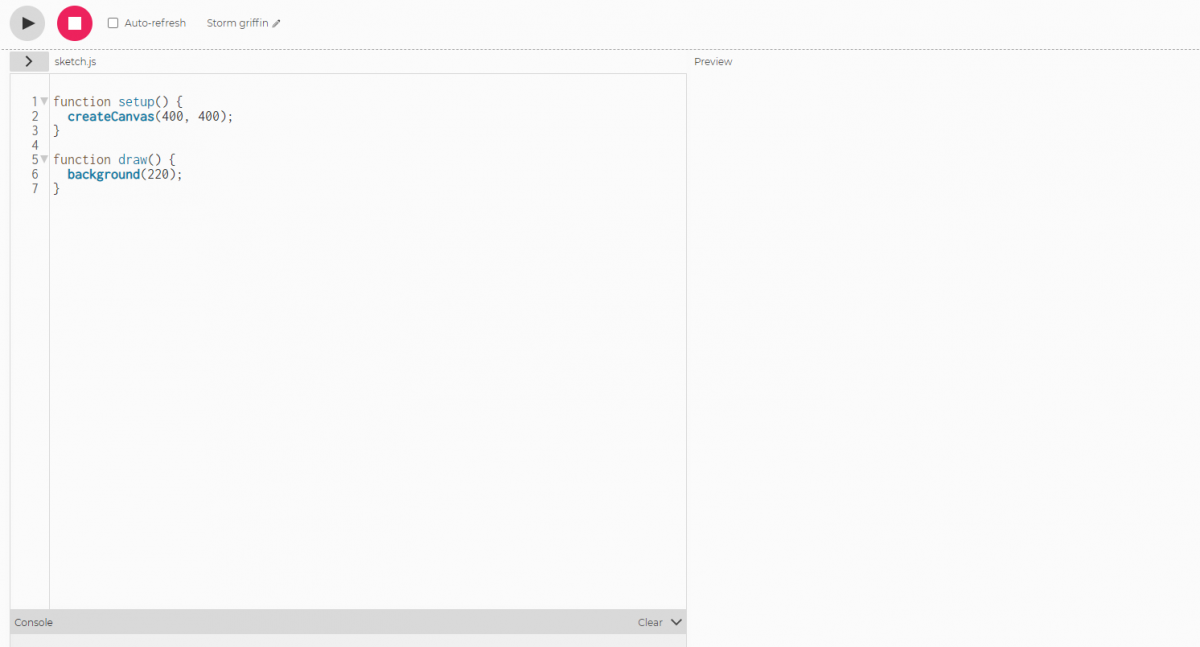
There are two pieces of code on the left-hand side of a blank P5 project: the setup and the draw functions. We’ll talk more about how functions in JavaScript work later, but to start the names are pretty illustrative: setup sets up the program and runs only once, draw on the other hand runs every frame and is used to redraw your art project as it changes. Since at first we won’t be making things move that part won’t be obvious.
Now, there’s a few other functions that can be used to make shapes. In this section, we’ll be using
- circle
- square
- triangle
- line
to make shapes.
Copy this code into the left-hand pane of your P5 window, after the line that says background:
  square(10,10,50);
  triangle(10,30,40,60,20,100);
If you hit the play button you’ll see two shapes drawn on the screen: a square and a triangle.
Now let’s talk about what these two things are doing. To start, we need to talk about coordinates in P5. So in school, you may have seen a coordinate system where (0,0) exists in the center of the page or screen and the x-coordinate increases as you move to the right and the y-coordinate increases as you move up.
In P5, though, and most graphics programming and games programming (0,0) is the upper-left hand corner of the screen and while the x-coordinate still increases as you go to the right but the y-coordinate increases as you move down.
So the way we read the two lines of code we wrote are: draw a square at the coordinate (10,10) that’s 50 pixels on a side, then draw a triangle whose vertices are (10,30), (40,60), and (20,100).
The canvas you’re drawing on, if you look at the setup code, is 400 by 400 pixels. So the center of the canvas would then be the coordinates (200,200). Test that by drawing a circle at that space by adding circle(200,200,20); after your other code.
If you’re wondering about the ; at the end of each line of code, that’s a way to help the computer understand that you’re at the end of a single instruction to the computer.
Example:
So now, if I tell you that you use line as line(x1,y1,x2,y2) and rect as rect(x,y,width,height) then try drawing a few more shapes on the screen and getting comfortable with how drawing works in P5.
In the next section, we’ll be talking about colors and randomization!